So I guess I will share some basic tips how to make your comics style post indexable by search engines.
I am not a programmer or a web site designer, but I have learned from reading and experimenting across the web some important things you must know when doing blogging.
As a blogger, you must know some basic understanding about HTML and CSS because it is really important to know how your blog works. In this tutorial on how to create a CSS style comic post; you will need to have some software which is the Dreamweaver who will work for the code and an Adobe Photoshop who will work for images, we will combine these two to make our comic style post crawlable.
What is Dreamweaver?
Dreamweaver is a tool for managing HTML and CSS code for your website. You can look and read for more info about Dreamweaver at http://www.washington.edu/lst/help/web/dreamweaver/whatisdreamweaver.
What is Adobe Photoshop?
Adobe Photoshop is a tool for drawing and coloring your images, in short, an image creating tool.
For more info about Adobe Photoshop you can visit http://en.wikipedia.org/wiki/Adobe_Photoshop.
Let us proceed.
Step 01 – Creating your comic type images. We will use first Adobe Photoshop. Open up your Adobe Photoshop. Go to File tab>and Open your ready made image. See the picture below.
 |
| Creating your comic type images |
Step 02 - Now that I open up my image, I will adjust it and make sure it will fit my blog content width. My content width are 600 pixels wide so I will not extend that much because it will leak outside my content border, so I will adjust my image to 500 pixels wide.
 |
| Adjust the width of your image, that will fit your post width. |
Step 03 - In this step, we will separate the images into parts, so that we can converts this slice parts into codes using Dreamweaver later.
 |
| Adjusted Image of my work. by http://insidesickcure.blogspot.com |
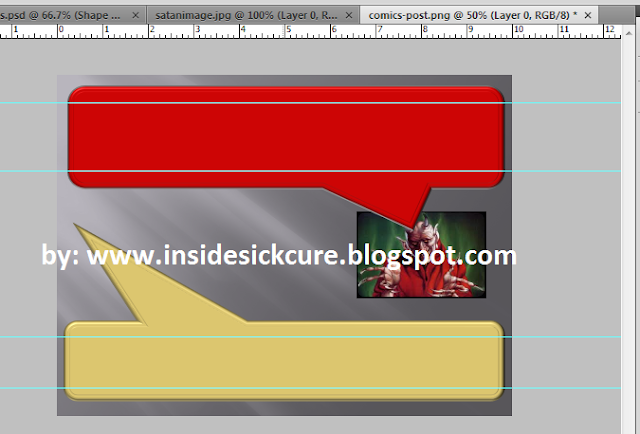
Step 04 - Go to View>Rulers and Ok, so that we can mark the parts of images we will cut.
 |
| Rulers and markers of Adobe Photoshop. |
Step 05 - Then drag and drop rulers and you can see the line in green.
 |
| Drag and drop to align ruler lines. |
Step 06 - Select using the selection tool or the rectangular marquee tool to select the parts of the image you want to slice and cut the parts you selected. Or hold the key Ctr+C.
 |
| Selecting the location you want to Copy or Cut using Rectangular Marquee Tool. |
Step 07 - After copying (cutting), hold Ctr+N and after that, they will ask you to put title on it. Now that the new file created, hold Ctr+V or paste your cut images on that new file.
 |
| Name your slice images, it is a good practice it you rename those images of your blog keywords because it is crawl by search spiders. |
 |
| My uncut images. |
 |
| The cut images, and their corresponding names. |
Step 08 - Here, I am going to cut a piece of image that will be a background on my text comic post. This will be a repeatable background for the text content of my post, so it will just only repeated downward when I put text on it (see it on Dreamweaver). I named it uppercomicscontent01.png and lowercomicscontent02.png.
 |
| This will be the cut for my post background content. |
 |
| I entitled the two background as uppercomicscontent01.png and lowercomicscontent02.png. |
That’s it for now, the next Tutorials will tackle about coding the images and how we will convert it to a post using Dreamweaver.
If you have questions, feel free to reply below and If you like this post, please share this to your friends and readers.
My Infamous Bible Quote
"If FAITH can move mountains and HOPE can wait forever, then CHARITY with LOVE can conquer the world." ~~~GetSickCure
Matthew 17:20 *** Romans 8:24-25 *** 1 Corinthians 13:13 *** 1 John 4:8
How I Make A Comic Style Post – My Very Simple HTML And CSS Knowledge
4/
5
Oleh
MomEnDoter


